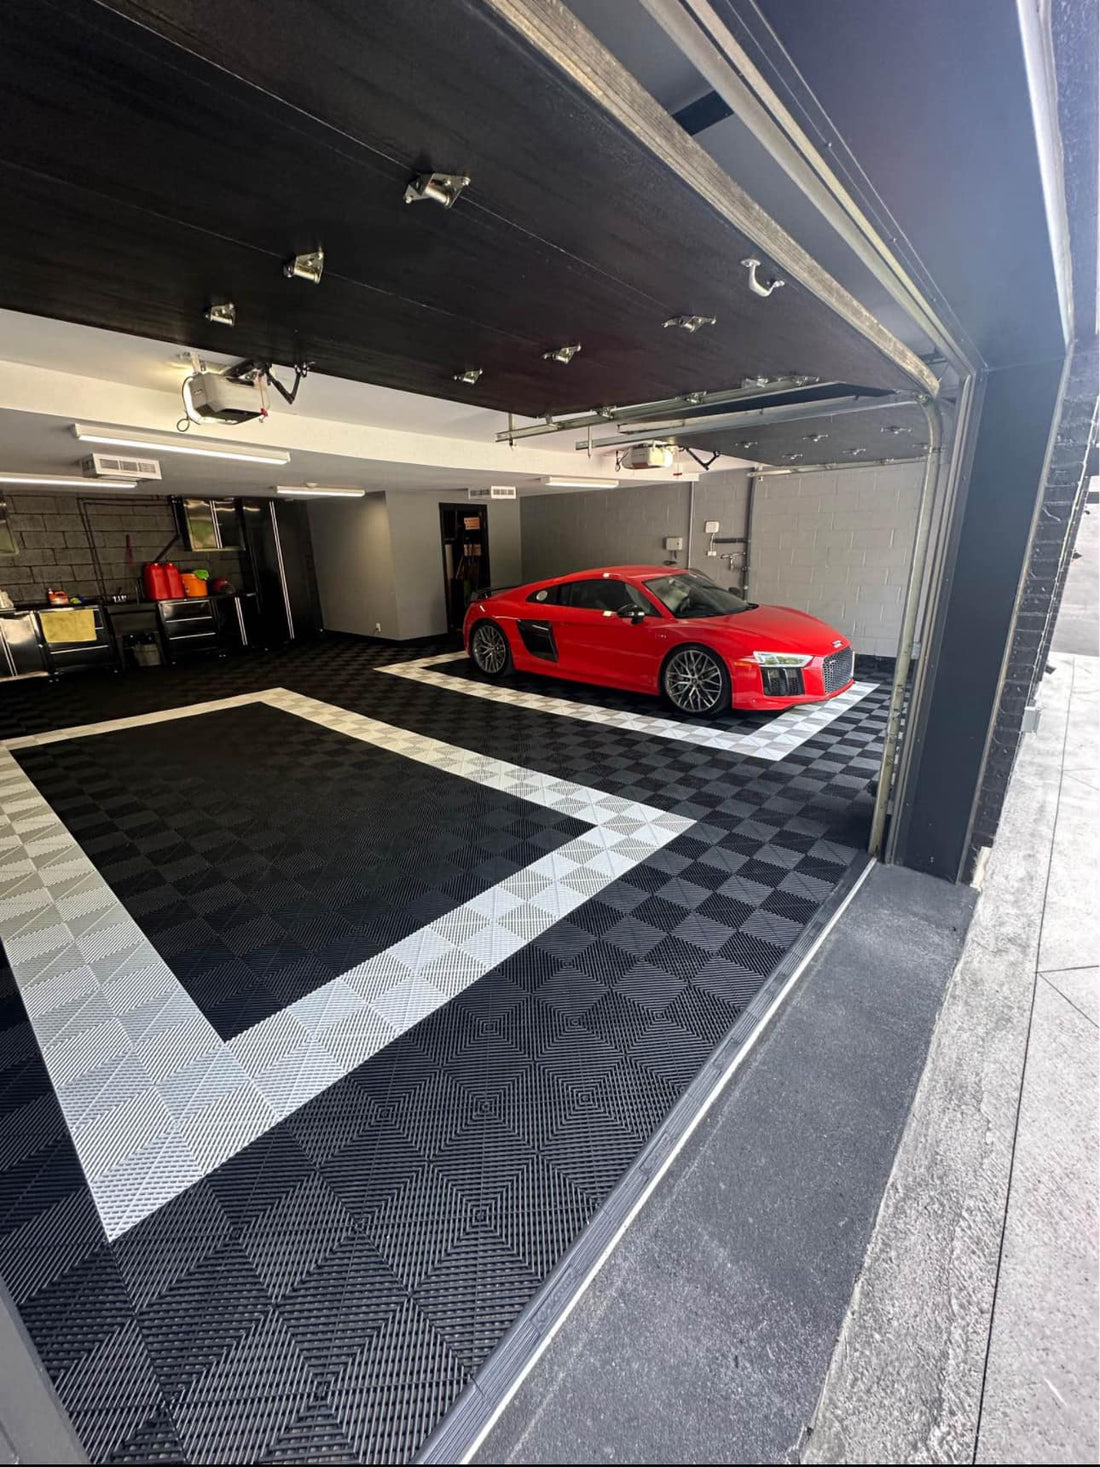
The Ultimate Guide to DIY Installing Modulux Garage Flooring Tiles
Share
The Ultimate Guide to DIY Installing Modulux Garage Flooring Tiles
When it comes to enhancing the look and functionality of your garage, few solutions are as effective as Modulux garage flooring tiles. Designed with innovation and durability in mind, these tiles offer a high-quality finish that’s easy to achieve—even for DIY enthusiasts. Here’s everything you need to know about installing your new Modulux tiles like a pro.
Why Choose Modulux Garage Flooring Tiles?
Modulux tiles are engineered with a unique interlocking system that ensures effortless assembly. Whether you’re looking to protect your garage floor, improve its appearance, or both, these tiles deliver unmatched performance and style. Plus, they’re built to withstand heavy loads and resist wear and tear, making them a long-lasting investment.
Tools You’ll Need
Before starting, gather these essential tools:
- Rubber mallet
- Measuring tape
- Utility knife or tile cutter
- Straight edge or ruler
- Optional: Knee pads for comfort during installation
Step-by-Step Installation Guide
- Prepare the Surface. Ensure your garage floor is clean, dry, and free from debris. Sweep and mop if necessary.
- Plan the Layout. Measure your garage dimensions and determine the best layout for your tiles. Starting from a corner is often the easiest approach.
- Begin Interlocking. Place the first tile in your starting corner and connect subsequent tiles using the locking system. Use a rubber mallet to ensure a secure fit.
- Trim the Edges. When you reach the walls, use a utility knife or tile cutter to trim tiles to fit perfectly.
- Inspect and Finalize. Double-check the installation for any gaps or misaligned tiles. Make adjustments as needed.
With these simple steps, you can achieve a professional-quality garage floor in no time. Ready to get started? Check out our comprehensive installation guide for more tips and tricks.
